3.8 Configuration
Configuring NERPM-AB involves setting the procedure sequence properties, the general model settings, and DaySim properties. The following sections provide details on these. The settings specific to all tools are specified in each tool’s configuration/settings files. Please refer to the previous sections in this chapter to learn more about various tools used in NERPM-AB.
Contents
Procedure Sequence Properties
Visum-based models are run via procedure sequence which makes it possible to run multiple model steps successively. A procedure sequence includes several pre-defined procedures with specific user-defined procedures. A procedure sequence is generally organized by grouping similar procedures. A grouped procedure sequence looks as follows:
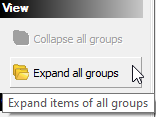
Double-click the procedure group to expand it to view individual procedures inside a procedure group. To expand all groups, click the ‘Expand all groups’ button on the side bar as shown below:
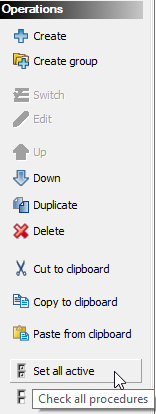
Activate/deactivate the procedures to be run by checking/unchecking the ‘Active’ check box next to each procedure group. To activate all procedures, click the ‘Set all active’ button in the ‘Operations’ sidebar as shown below:
Individual procedures within a group can be set as active/inactive by checking/unchecking the ‘Active’ check box next to the procedure. For example, the initialization of assignment results can be skipped as follows:
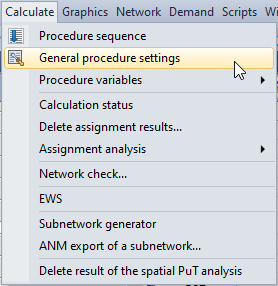
The settings specific to assignment and skimming are set in the procedure sequence settings. To view these settings, open the procedure sequence settings by clicking the ‘general procedure settings’ icon in the procedure sequence window:
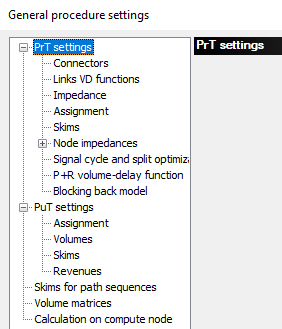
The general procedure settings window allows the configuration of link and node impedances, highway (PrT) and transit (PuT) assignment, and skimming settings.
To start the procedure sequence, left click the ‘Start procedure sequence' button on the menu bar of the procedure sequence window. This will run all active procedures in sequence.
To run the procedures step by step, left-click the ‘Single-step’ button to step through the procedure sequence one step at a time.
Once the procedure sequence has been configured for a specific modeling task, it can be exported as procedure parameter files (XML format) for reuse later. To export a procedure sequence, left-click the ‘save’ icon on the menu bar of the procedure sequence window and follow the prompts.
To load a pre-saved procedure parameters file, left-click the ‘open file’ icon on the procedure sequence menu bar:
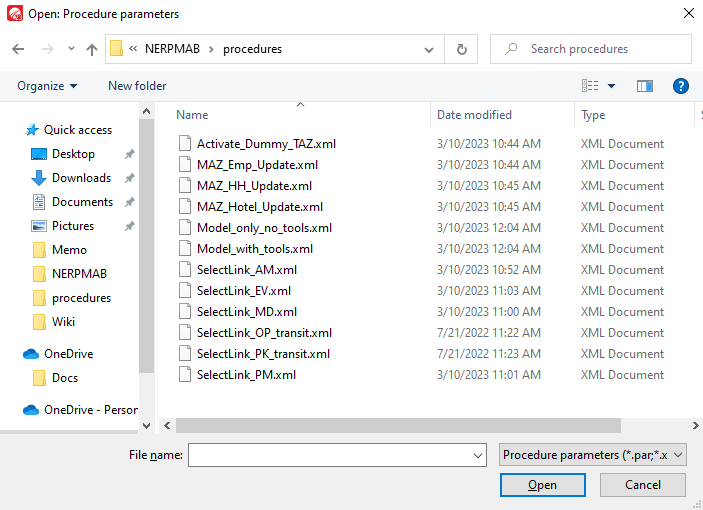
Next, select the appropriate procedure parameters file from the select file window and follow the prompts.
General NERPM-AB Settings
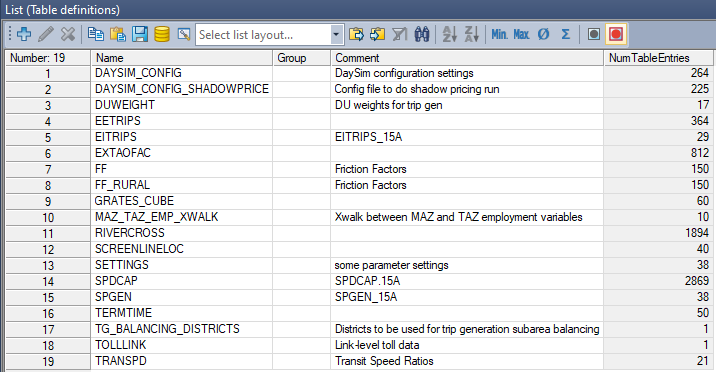
The general NERPM-AB settings, parameters, and auxiliary model data are specified in the version file as user-defined tables. A full list of user-defined tables is shown below:
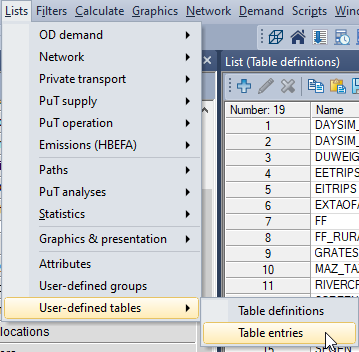
To open user-defined tables select the ‘Table entries’ option as shown below:
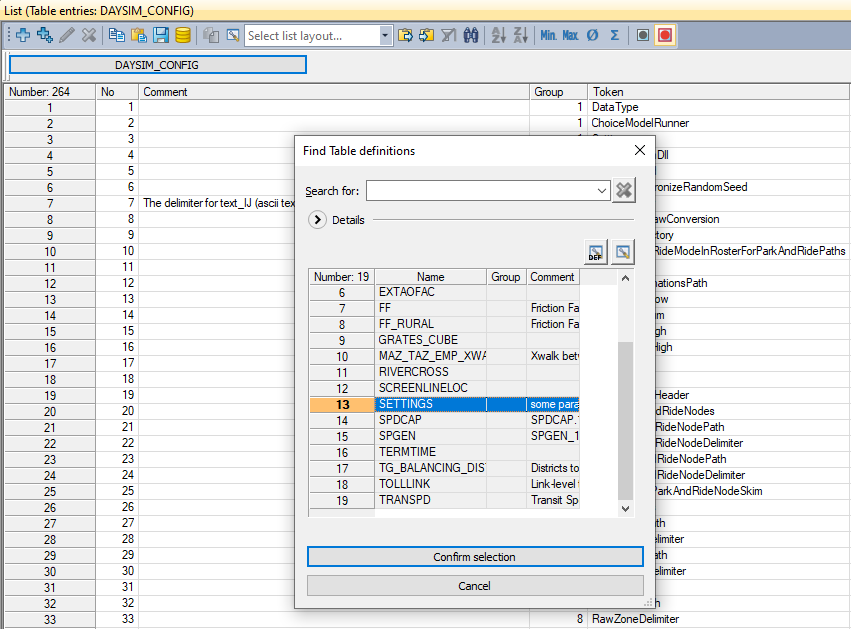
The tables can be selected by clicking the table name button as shown below. It opens the ‘Find Table Definitions’ box. Select the appropriate table and click the ‘Confirm selection’ button.
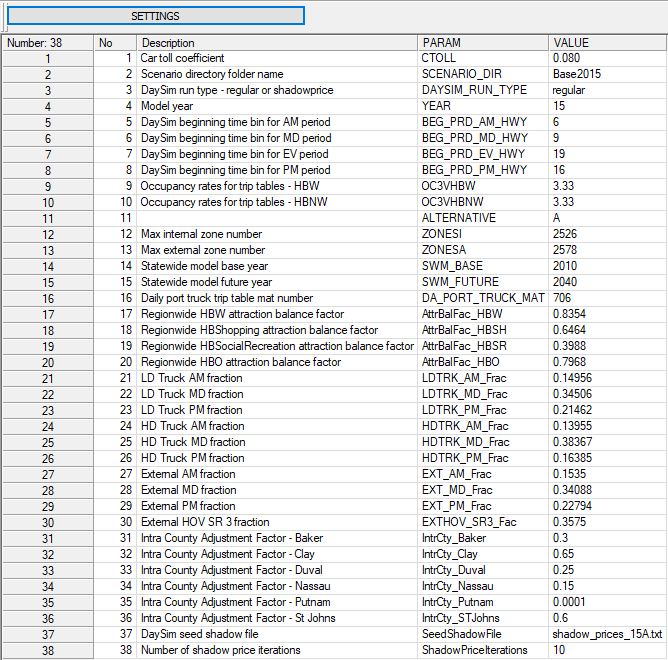
The NERPM-AB settings are exposed to users via the SETTINGS and DAYSIM_CONFIG user-defined tables. The SETTINGS table contains more general model properties such as scenario directory name and model year. A complete list of settings in the SETTINGS table is presented in the table below.
DaySim Settings
The configuration file is the main control file for DaySim. The configuration file informs DaySim about inputs/outputs and various model settings. These settings include input/output file names, types and locations, sample rates, DaySim pathbuilding weights, and also allow users to specify which DaySim model components should be executed. A detailed description of the setting used in the NERPM-AB model is provided in section 4.3.
The DaySim configuration settings are exposed to the user via the DAYSIM_CONFIG user-defined table. During the model run, this table is written out as the DaySim configuration file in the appropriate DaySim inputs folder. A snapshot of this table is shown below:
This table uses two keywords – SCENARIO_DIR and TOOLS_DIR. These point to the scenario directory path and other ABM tools directory path. These are generated on the fly based on the Project Directory settings for Visum. The relative directory paths in this table should not be changed.
N Processors
Typically, users would need to set the NProcessors property. This property specifies the number of processing cores to be used for running DaySim. By default, the number of cores for DaySim is set at 12. The number of cores should be updated based on available logical cores on the machine. More cores can be used to achieve faster DaySim run times. To set the number of processors, search the NProcessors token in the DAYSIM_CONFIG table and set the value to the desired number of cores as shown below:
Shadow Pricing
Shadow prices are constants that are added to individual microzones during the simulation of work and school location choice models. This is done to result in a good match between the following:
- Work locations of workers and employment
- School locations of students and enrollment
DaySim can be run in two modes – regular or shadowprice. When run in shadowprice mode, DaySim runs the long-term models (work and school location choice) ten times while continuously updating the shadow prices in each iteration. The intent is to make sure that there is a good match between the number of job available in a microzones and the number of workers choosing the microzones as their usual work location. The same applies for students and school locations.
DaySim should be run in shadowprice mode once per scenario or when the user updates the employment and/or school enrollment data. In the regular mode, DaySim uses the shadow price file generated during the shadowprice run as the seed shadow price and runs only one loop of shadow pricing. The location of the seed shadow price file is specified in the SETTINGS user-defined table

